How to prevent craters in royal icing is forever one of the most talked about and ever-evolving topics in the cookie world. These ingenious people are always coming up with new methods (including one I haven’t even tried yet listed at the end of this post)!
*DISCLOSURE: This post contains affiliate links which means that, at no additional cost to you, I may earn a small commission if you make a purchase from one of my links. I greatly appreciate your support!
So, let’s get into it! Read on for everything (hopefully) you ever wanted to know about how to prevent craters in royal icing…
Why Do Craters Happen?
Craters essentially happen because the structure of the icing has been compromised. They can happen on a large surface (like a flooded cookie) or on a tiny detail. This can happen for a variety of reasons:
- Icing is too thin – icing that is too thin (typically we’re speaking about a flood here) does not have enough structure to prevent the icing from cratering/caving in
- Not enough icing – sometimes it’s just a matter of adding more icing! This is more applicable for flooding an entire cookie (yes, you can get a mild crater even in large surfaces!).
- Too much food coloring – too much food coloring can result in the structure of the icing breaking down (you’ll know you added too much food coloring because of how it dries: crumbly and porous).
- Unpopped air bubbles – sometimes, but not always, unpopped air bubbles can pop as the icing is drying and create a hole in the icing.
- Under or over mixed icing – traditional royal icing recipes (today) use meringue powder, which needs to be activated just enough to serve its purpose (but not too much). Same as too much food coloring, over mixed icing will dry crumbly and porous.

When Do Craters Happen?
Quite possibly the worst part about craters is that you don’t know they happen until the cookie is completely dried. Can’t tell you how many times I woke up the next morning to craters in my icing that I had no idea would be there. And, of course, the tears ensued!
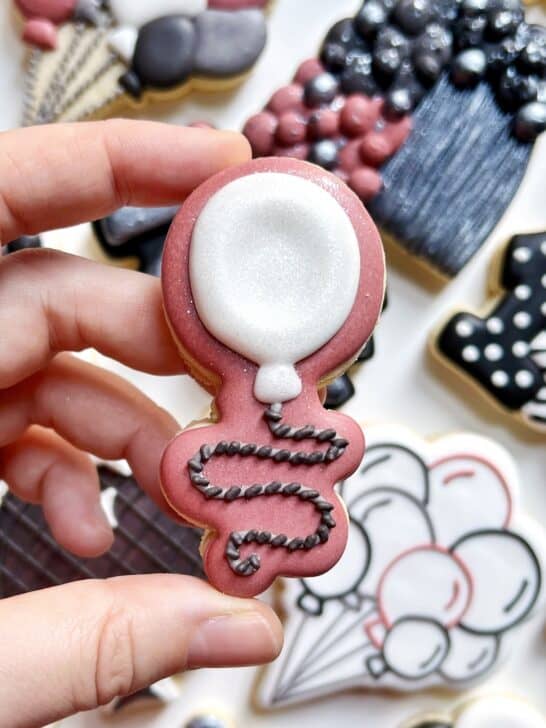
What Do Craters Look Like?
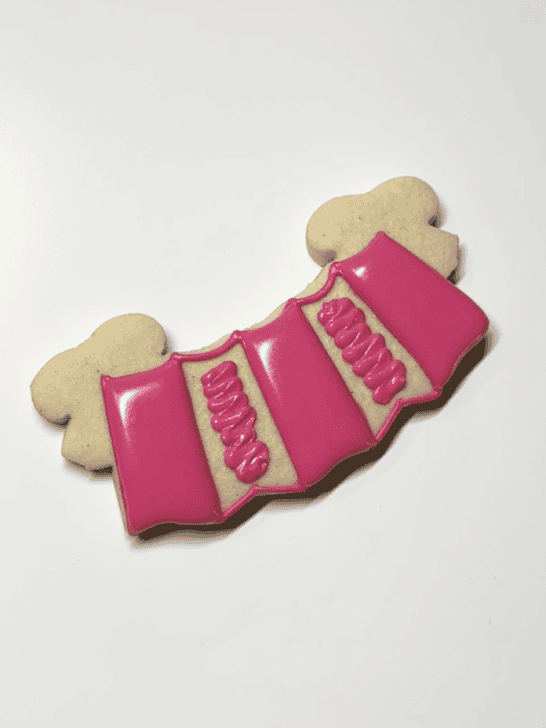
Craters can range from just a gentle dip/dimple in the icing to an actual hole in the surface of the icing. That said, some might argue that the holes are actually air bubbles popping (which they are) and are in a different category of issues just related to air bubbles (I would put them in both).
Pardon the quality of this photo, but an actual hole hasn’t occurred in my icing since I first started decorating (this was from the third set of cookies I ever made in 2012):

How to Prevent Craters in Royal Icing
Luckily, there are a few different ways to prevent craters. That said, I’ve yet to find a 100% fool-proof method!
Consistency
Use the thickest icing possible for your application: the thicker the icing, the less like it is naturally to crater. For a flood, this means more like a thick flood. And sometimes that can mean using a soft peak piping consistency to pressure flood a small area.
Volume of icing
Seems simple, but make sure you use enough icing! If I think an area might crater, I’ll add a little extra. Keep in mind that this might result in over flooding the cookie though! It’s definitely a delicate balance.

Allow colors to develop
Allowing your colors to develop is SO important to prevent using too much food coloring. Colors get darker (develop over time), whether it’s 1 hour or 12 hours. By allowing colors to develop you use must less food coloring! Check out this post for more details on color developing. Because remember: too much food coloring in the icing can make the icing more unstable and more likely to crater.
Avoid air bubbles
Air bubbles occur when the icing is mixed too much/on too high of a speed. This is why in my icing recipe I give exact timing and speed instructions. You can avoid having air bubbles in the first place by how you prepare the icing, but you can also get rid of air bubbles once the icing is bagged. Check out this video at 3:40 for how I do the helicopter method. And, finally, you can pop air bubbles (with a scribe or toothpick) when the icing is still wet.
To prevent the air bubbles in the first place (but also know that if you have just a few air bubbles in your flooded cookie you can always pop them with a scribe!):
- Do not mix your icing for too long or at too high of a speed. I don’t like to go above medium speed (4) on my stand mixer.
- Before you bag your flood icing, allow the icing to sit in the bowl for a few minutes. The air bubbles will rise to the surface and then you can pop them gently with the surface of your spoon/spatula.
The squiggle method
Pipe a squiggly of piping consistency icing in the area before you flood (this gives some extra structural support to the flood icing). Personally, I’ve found this to only work sometimes.
Use a dehydrator
Pop the cookies in a dehydrator for about 15 minutes immediately after piping the area to encourage the icing to crust faster. Check out the dehydrator I use in this post.
The second layer trick
When tackling a second layer of icing, flood that second layer when the base layer has crusted JUST enough (this is usually around 30 minutes of drying with a table fan). I don’t know the science behind this, I just know that it works! Something about the based flood and the second layer of icing being able to dry together prevents the second layer from cratering.
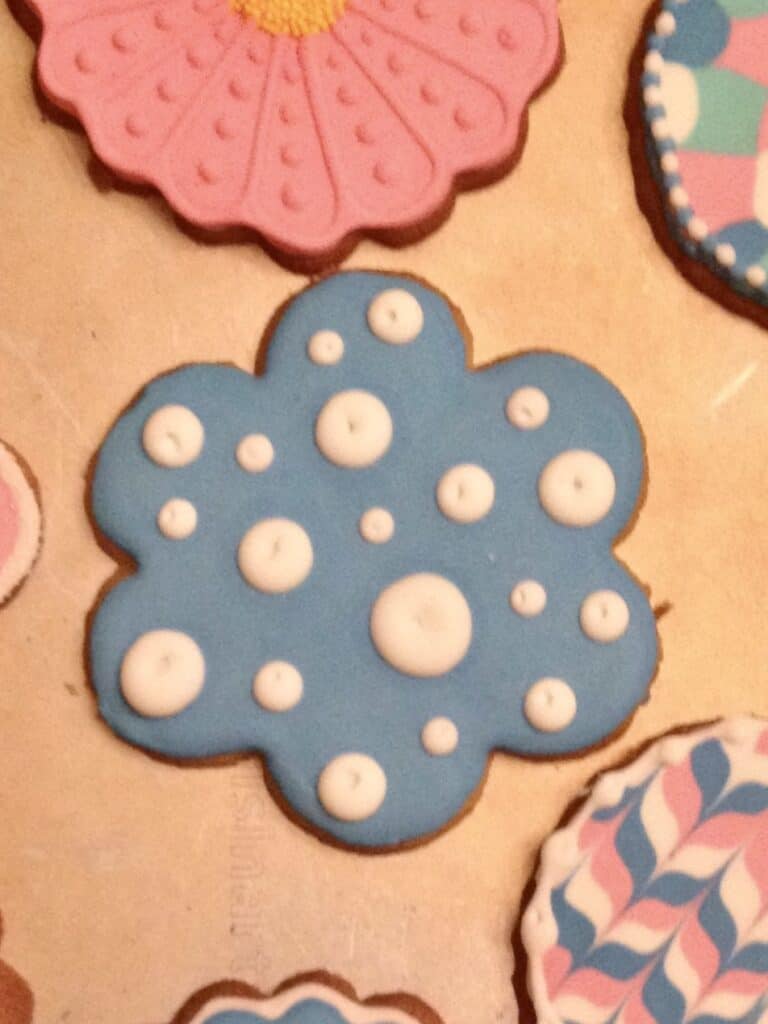
The holes trick
There’s also a new technique going around when preventing craters in a second layer of icing: poke holes in the base flood (under the area you’ll cover with a second layer of icing). You can even do this when the first layer flood has completely dried!

I recently tried this trick, and I’d have to say I’ve had the most success with this technique for preventing craters! I think it works even better the drier the base layer, and don’t be afraid to use a larger scribe to poke the hole! I’ve found if the holes are too small, it doesn’t work very well.

Well that’s the extent of my tips and tricks on craters in royal icing! Hopefully something helped here. And if it makes you feel any better: I still get craters sometimes! I always use a combination of these techniques and still haven’t found a 100% fool-proof method to prevent craters.
Want to try cookie decorating?
Try out one of my online cookie decorating classes!
Mini Snowman Cookies ~ Mini Christmas Cookies for Advent Calendars
Sunday 8th of December 2024
[…] How to prevent craters […]
Holly Decorated Cookies ~ Cookie Decorating With Royal Icing
Sunday 1st of December 2024
[…] How to prevent craters […]
Elf Sugar Cookies ~ Cookie Decorating With Royal Icing
Wednesday 27th of November 2024
[…] How to prevent craters […]
Love Birds Cookies ~ Recipe & Step-by-Step Instructions
Thursday 7th of March 2024
[…] How to prevent craters […]
Chelsey
Saturday 15th of July 2023
Great information!! Thanks so much for sharing all this :)
thegracefulbaker
Saturday 15th of July 2023
And thank you for reading!!